
Renovating your home is an exciting process, but once the work is done, you’re often left with a dusty, messy space, especially on your floor tiles.
It’s essential to clean up properly to prevent stains and long-term damage. However, many homeowners make mistakes in their cleaning process, which can lead to permanent tile damage or unsightly stains.
Here are seven effective ways to restore your tiles to their original shine while also ensuring their longevity.
Understanding Post-Renovation Tile Contaminants
After a renovation, your tiles may be covered with various residues that can affect their appearance and longevity.
Identifying these contaminants is the first step toward effective cleaning.
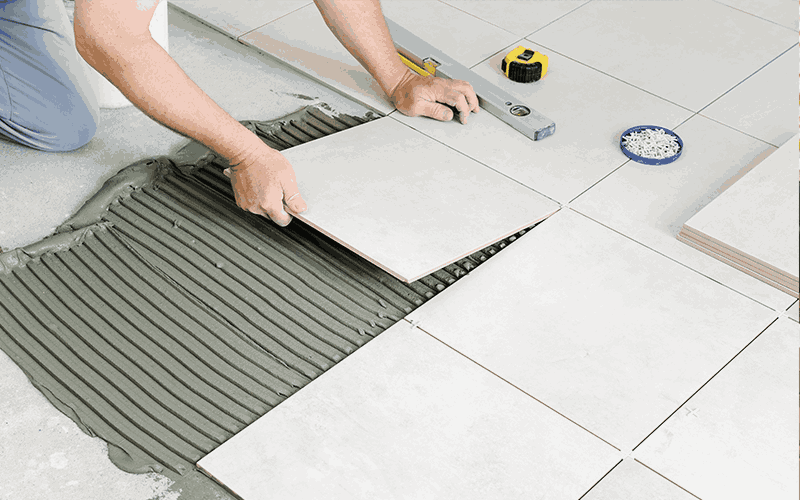
1. Grout Haze
Grout haze is a thin, cloudy film left on tiles after grouting. It results from residual grout particles that dry on the surface, dulling the tile’s appearance.
If not promptly removed, grout haze can harden, making it more challenging to clean and potentially leading to long-term discoloration.
Regular cleaning shortly after grouting can prevent this issue.
2. Cement and Paint Splashes
During renovations, accidental spills of cement or paint can occur, leading to hardened spots on your tiles.
These splashes, if not cleaned immediately, adhere firmly to the tile surface, creating unsightly blemishes.
Removing them later may require abrasive methods, which can scratch or damage the tiles. Prompt cleanup of spills is essential to maintain the pristine condition of your flooring.
3. Dust and Debris
Renovation activities generate a significant amount of dust and debris that settle on surfaces, including tiles.
Fine dust particles can accumulate in grout lines and tile textures, leading to a dull and dirty appearance.
If not addressed, this buildup can become embedded, especially when mixed with moisture, making cleaning more difficult.
Regular sweeping or vacuuming during and after renovation can help prevent excessive dust accumulation.
By understanding these common post-renovation tile contaminants, you can take proactive measures to address them effectively, ensuring your tiles remain clean and retain their original luster.
Why Floor Protection Matters During Renovation
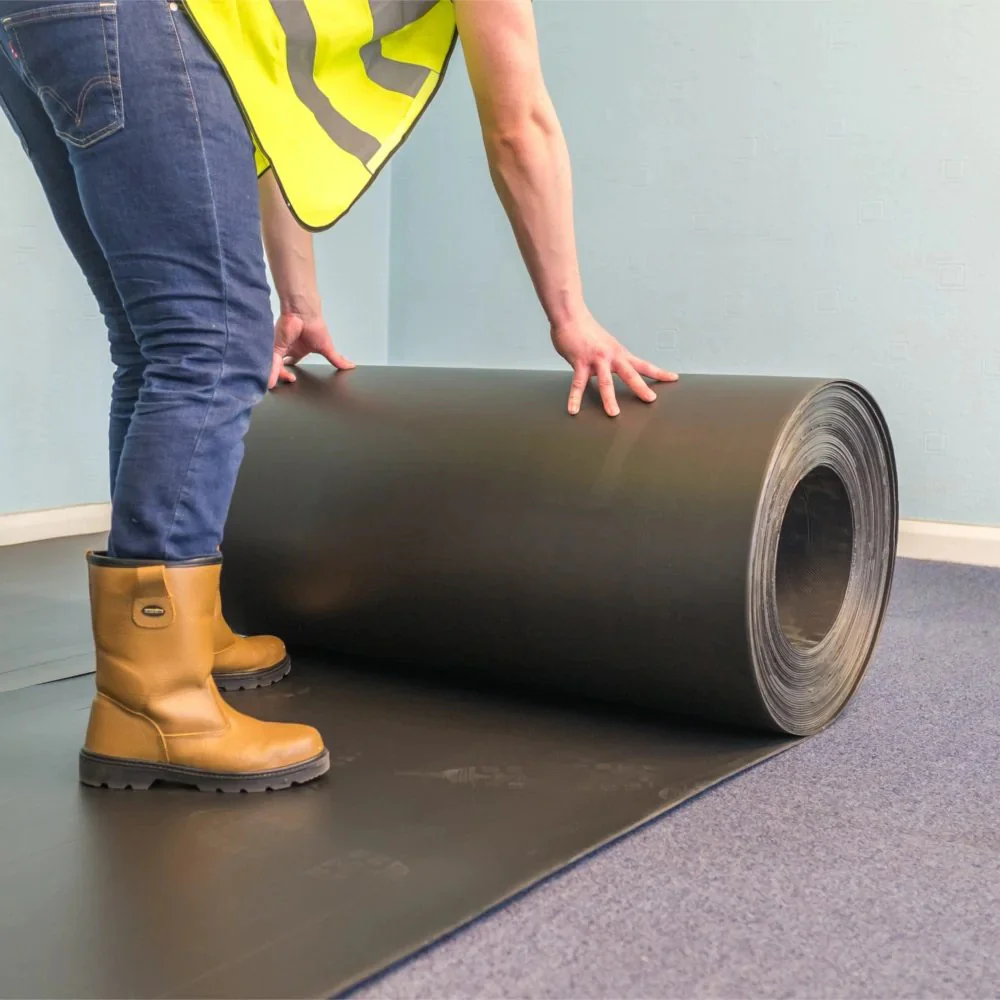
Prevention is always better than cure! Using proper renovation floor protection can save you time and effort in post-renovation cleaning.
Protecting your floors during the renovation process helps prevent scratches, stains, and excess dust buildup.
- Corrugated plastic sheets protect against heavy impacts.
- Self-adhesive films provide temporary shielding against dust.
- Foam mats are great for absorbing shocks from dropped tools.
How to Clean Floor Tiles After Renovation
Renovations can leave your floor tiles covered in dust, grout residue, and stubborn stains, diminishing the beauty of your newly updated space.
Proper post-renovation cleaning is essential to restore the shine and ensure the longevity of your tiles.
1. Start with Dry Cleanin
Cleaning should always begin with removing loose dirt and debris before applying any liquids.
Dry cleaning ensures that dust and fine particles don’t turn into mud when wet, making the cleaning process much easier.
- Use a soft broom or a vacuum cleaner to pick up loose dirt.
- Avoid harsh bristle brushes that may scratch the tiles.
- Ensure you also clean grout lines where dust tends to settle.
2. Use Warm Water and Mild Detergent
After dry cleaning, the next step is to remove any remaining dust and light stains with warm water and mild detergent.
This method is safe for most tile types and helps eliminate surface dirt without damaging the tiles.
- Mix warm water with a mild detergent.
- Use a mop or microfiber cloth to wipe down the tiles.
- Avoid excessive water on porous tiles to prevent damage.
3. Remove Grout Haze with Vinegar Solution
Grout haze can make newly installed tiles look dull and dirty. It’s important to remove it as soon as possible to maintain the aesthetic of your flooring.
- Mix one part white vinegar with four parts water.
- Apply with a soft sponge and scrub gently.
- Rinse thoroughly with clean water to prevent residue.
4. Scrape Off Cement and Paint Stains
During renovation, cement and paint splashes can harden on tiles, making them difficult to remove. Using the right tools and techniques can prevent damage while effectively cleaning the floor.
- Use a plastic scraper or putty knife to gently lift dried cement.
- Apply a pH-neutral tile cleaner to loosen stubborn spots.
- Avoid metal scrapers, which can scratch the tile surface.
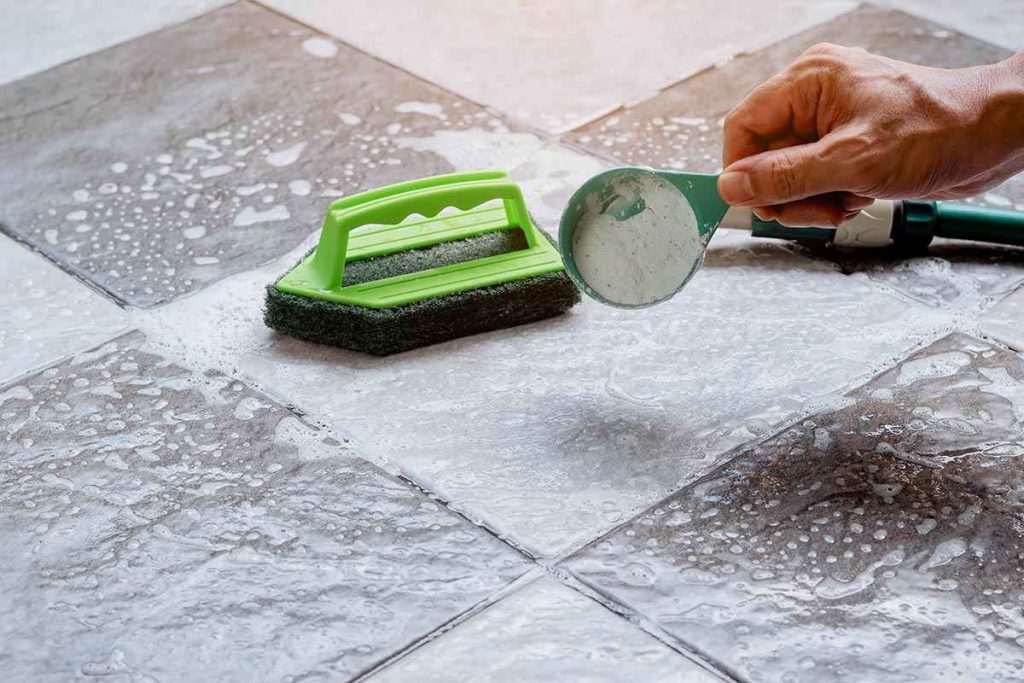
5. Deep Clean with Baking Soda
Baking soda is a natural yet powerful cleaning agent for removing stubborn stains and grime. This method works well for deep cleaning without the use of harsh chemicals.
- Make a paste using baking soda and water.
- Apply to stained areas and let it sit for 10 minutes.
- Scrub gently with a soft brush and rinse well.
6. Mop with a pH-Neutral Floor Cleaner
Regular mopping with a pH-neutral cleaner helps maintain the cleanliness and shine of your tiles. This step is particularly useful for keeping floors fresh after removing renovation debris.
- Dilute the cleaner according to the manufacturer’s instructions.
- Mop the floor using a microfiber mop for an even clean.
- Avoid harsh chemicals that may dull the tile’s finish.
7. Dry and Polish for a Spotless Finish
Drying the floor properly prevents streaks and watermarks, giving your tiles a flawless finish. Proper ventilation also helps speed up the drying process.
- Use a dry microfiber cloth to wipe the floor.
- Buff the tiles gently to restore their shine.
- Ensure good ventilation to speed up the drying process.
Contact Handyz Concept for Professional Assistance
Post-renovation cleaning can be exhausting, so why not let the experts handle it?
Handyz Concept specializes in vinyl flooring installation, electrical services, painting, and full renovation services.
Whether you need help restoring your tiles or upgrading your floors, we’ve got you covered!
Contact us today to get a professional consultation and enjoy a hassle-free renovation experience!