
Thinking of painting your walls? Before you even reach for a brush, it’s essential to get the surface ready.
Proper wall preparation lays the groundwork for a paint job that looks professional and lasts longer.
It might not be the most glamorous part of a paint job, but it’s absolutely essential. Skipping this step can lead to a patchy, uneven finish and paint that chips or peels prematurely.
What Do You Apply Before Paint on Wall?
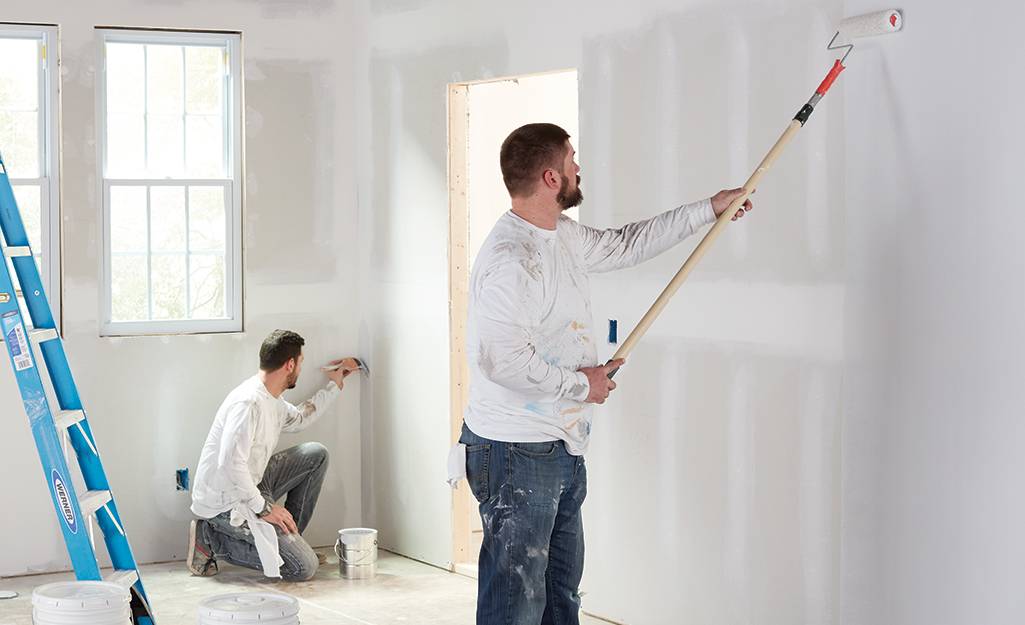
Before applying paint, several products and treatments might be used depending on the condition of the surface.
These materials help create a stable, clean, and receptive surface that maximizes the durability and appearance of the paint finish.
1. Primer
Primer acts as a base coat that seals the surface and ensures better adhesion for the paint. It helps prevent stains, marks, or old colors from bleeding through the new coat.
In addition, using primer can reduce the number of paint coats needed, saving time and money.
2. Putty or Joint Compound
These materials are essential for repairing wall imperfections such as nail holes, cracks, dents, or uneven surfaces.
After application, the area should be sanded smooth to blend seamlessly with the wall. Proper use of putty or joint compound is critical for achieving a polished, uniform finish.
3. Sealer
A wall sealer is particularly important when dealing with porous or highly absorbent surfaces like new drywall or fresh plaster.
It creates a barrier that prevents the paint from soaking in unevenly. This step helps maintain consistent color and texture across the wall.
4. Sanding and Cleaning Agents
Sanding helps smooth out rough spots, glossy areas, or old paint textures that could interfere with the new finish.
Cleaning agents remove grease, dust, and residues that would otherwise prevent proper paint adhesion.
Together, these steps create a clean and even surface ready to accept the primer and paint.
Each of these materials plays a vital role in ensuring the paint adheres effectively, looks smooth and consistent, and lasts for years without peeling or fading.
Interior Wall Preparation Before Painting
Interior walls require a specific set of preparation steps to ensure a clean, beautiful paint job. Here’s how to handle it like a pro.
Step 1: Clear the Room
Start by removing all furniture, wall hangings, window treatments, and outlet covers from the area you plan to paint.
This gives you unrestricted access to every part of the wall and helps avoid accidental spills or damage.
Cover any immovable fixtures with drop cloths or plastic sheeting to keep them protected.
Step 2: Clean the Walls
Use a mild detergent mixed with water to wipe down the walls and remove dust, fingerprints, grease, and other residue.
Pay special attention to areas near kitchens and bathrooms where grime builds up more easily.
After cleaning, rinse with plain water and let the walls dry completely before moving to the next step.
Step 3: Repair Imperfections
Inspect the walls carefully for cracks, holes, or dents. Use spackling paste or joint compound to fill them, applying in thin, even layers.
Once the filler is dry, sand the patched areas smooth so they blend seamlessly into the wall surface.
Step 4: Sand the Surface
Even freshly patched or previously painted walls can benefit from light sanding.
Use fine-grit sandpaper (around 220 grit) to smooth out rough patches and scuff glossy areas for better paint adhesion. Always wipe away dust afterward with a clean, damp cloth or a tack cloth.
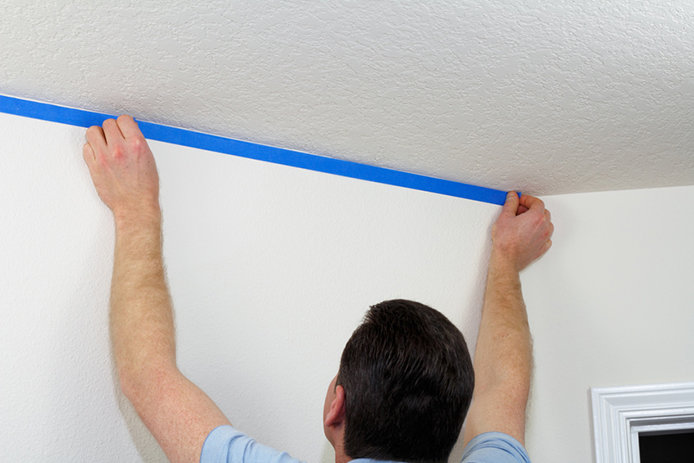
Step 5: Apply Painter’s Tape
Line all edges, trim, baseboards, and any surfaces you want to protect with high-quality painter’s tape.
Press down firmly along the edges to prevent paint from bleeding underneath. Painter’s tape not only ensures clean lines but also speeds up the final cleanup process.
Step 6: Prime the Walls
Apply a primer that suits your wall condition and paint type. Primer helps even out color, seals porous surfaces, and creates a uniform base for your topcoat.
It’s especially essential when covering dark colors, painting over repairs, or working with new drywall.
What Could Go Wrong with Improper Wall Preparation Before Painting
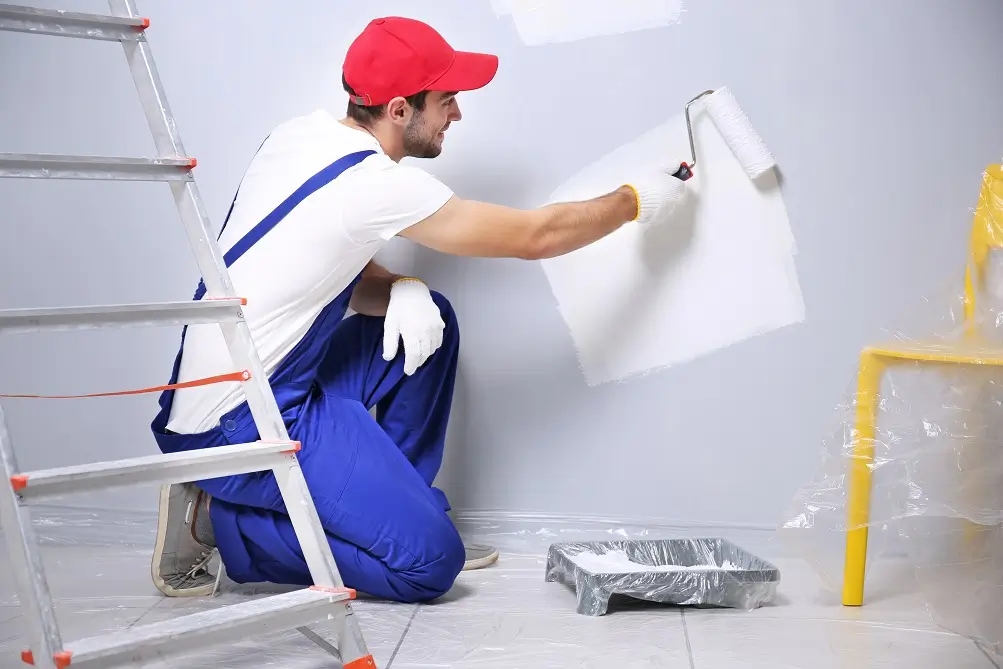
Jumping into a paint job without prepping the walls might seem like a shortcut, but it often leads to peeling, cracking, and uneven results.
Here’s what could go wrong with improper wall preparation before painting, and why it’s worth doing right.
1. Peeling and Flaking Paint
When the wall isn’t properly cleaned or primed, paint has trouble bonding to the surface. Over time, this leads to peeling, flaking, or bubbling, especially in humid or high-traffic areas.
The result is an unsightly mess and wasted time and money.
2. Visible Imperfections
Skipping patching and sanding leaves behind cracks, holes, or uneven textures that become even more noticeable once the paint dries.
Rather than a smooth, clean look, the finish appears rough and unprofessional. Paint alone won’t hide these flaws, it may even highlight them.
3. Stains and Old Colors Bleeding Through
Without a proper primer, existing stains, marks, or bold previous colors can bleed through your fresh coat of paint.
This ruins the final appearance and may require multiple extra coats to fix. A simple primer step could prevent all that.
4. Uneven Paint Absorption
Unsealed or dirty surfaces absorb paint unevenly, causing blotchy or streaky results. This affects both the color and texture, making it difficult to achieve the intended finish.
Inconsistencies like these are hard to correct without starting over.
5. Shortened Paint Lifespan
Improper prep leads to paint that deteriorates faster, requiring touch-ups or full repaints much sooner than expected.
Proper wall prep protects your investment and keeps your space looking fresh for years.
Ready to Transform Your Space? Contact Handyz Concepz Today
Wall preparation before painting isn’t just about slapping on some spackle and primer, it’s a precise process that makes or breaks your final result.
If you want flawless walls without the stress, Handyz Conceptz has you covered.
Our experienced professionals know exactly what to apply before paint on walls, how to handle interior wall preparation before painting, and how to follow the new wall painting process step-by-step for optimal results.
Contact Handyz Conceptz today for a free consultation and get your walls prepped and painted the right way.
